April 01, 2023
How to build a swipe file with Airtable
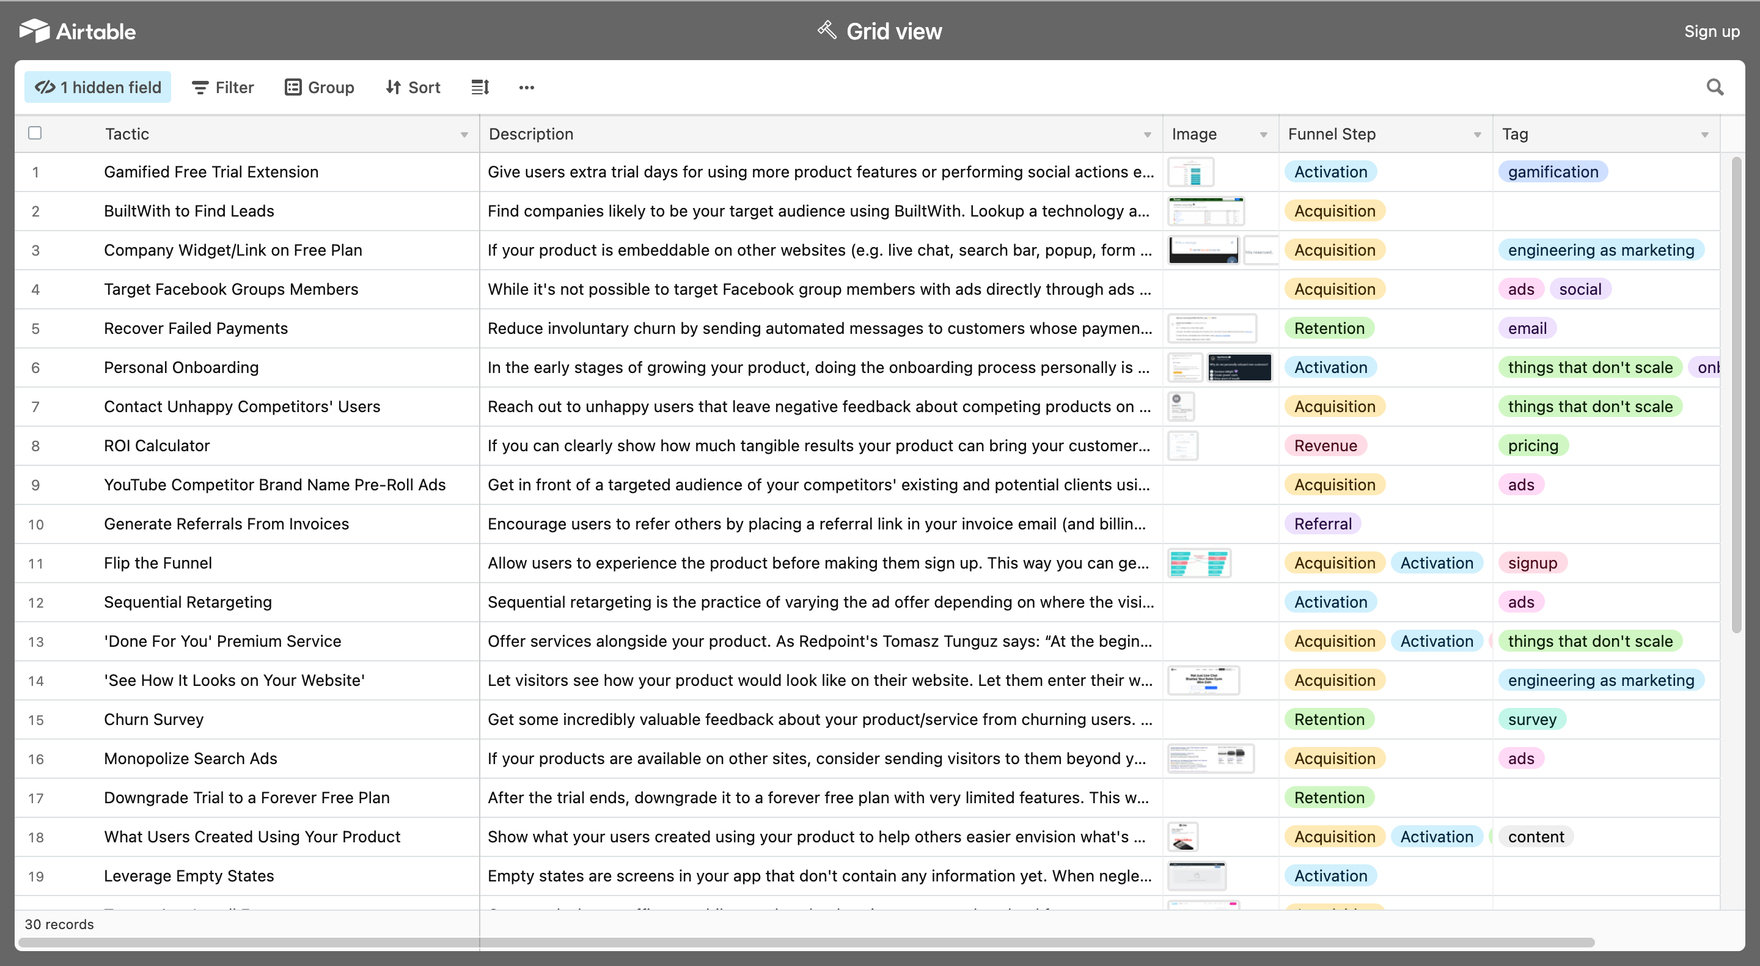
A swipe file is a collection of pieces of content you can use as inspiration for your own writing. For example, we might keep track of the best headlines we've come across in our swipe file, the best landing pages we come across, or the most memorable opening sentences.
Airtable can help you build your own swipe file by creating an easy-to-use digital database to store all your favorite quotes and ideas in one place (and add them to your files).

Create a table for your swipe file
In Airtable, create a new table by selecting "Create Table."
- Title: The title of your swipe file.
- Description: The description of your swipe file. This is optional, but it's helpful for remembering what each file contains or why you created it in the first place.
- Columns: Add columns for each piece of information you want to include about each swipe file in this table (e.g., Title, URL, Date).
Install the Airtable web clipper chrome extension
To install the Airtable web clipper chrome extension, go to this page and click "Install" in the top-right corner.
The Airtable web clipper chrome extension works like any other browser extension: when you're reading a webpage that contains information you want to save, click on its icon in your toolbar (it looks like an arrow). The page will be sent directly into your account or organized list within Airtable!
Once installed, here are some ways you can use it:
Add records to the table
To add records to the table, open up your swipe file and click on Add Record. Airtable will automatically create a new entry for you with all of the available fields filled in (there are only two: name and notes). You can now type in any information that might be useful to keep track of when using this template.
To search through existing records, click on Search at the top right corner of your screen or use Cmd+F if using an Apple computer. Type in what you're looking for--for example "email" or "website"--and then select one or more results by clicking on them once with your mouse cursor before hitting enter on your keyboard, which will move those items into their own separate row within Airtable's editor window so that they're ready for editing later!
Tag your swipe files by genre, topic and mood
Tagging your swipe files is a great way to organize them, and it's also a useful way to find what you're looking for.
You can add tags to the records themselves or to their fields. For example, if I wanted all my swipe files related to personal finance in one place, I could create a tag called "Finances" and then add it as an attribute on each record that contains information about money matters (or even just records where I've highlighted text). Or maybe I want all my swipe files related with food & drink--in this case, since there are so many different kinds of food & drink out there (and not all of them fall into one category), I'd probably want two separate tags: one called "Food" and another called "Drink."
Add a new record from the search results page
Airtable's search results page shows you all of the records in your database. You can add a new record from this page by clicking on +Create at the bottom of the screen, which will automatically add a new record and give it a name based on what you searched for.
Organize your swipe file
Airtable is an incredibly powerful tool, but it can be a bit overwhelming at first. Don't worry — we'll walk you through the basics of how to create a swipe file with Airtable and organize your records.
The first thing you need to do when building a swipe file with Airtable is create some tables for each genre, topic and mood. For example: "Action Movies", "Horror Movies" and "Comedy". You can also create one table for all types of films (including documentaries) if that makes sense for your project's scope. Once these tables have been created, add tags by clicking on the "+ Add Tag" button in the upper right corner of any record's details page or simply by editing its existing tags directly from this same box! Then go ahead and start adding new records into them using our search function as described above.
Conclusion
Airtable is free to use, so there's no need to spend money on a new tool. It's also great for building swipe files because it has a web clipper extension that lets you save content from the web and a mobile app that lets you add content from your phone.
I hope this article has helped you understand how to build a swipe file with Airtable. If you have any questions or comments, please feel free to leave them below!